
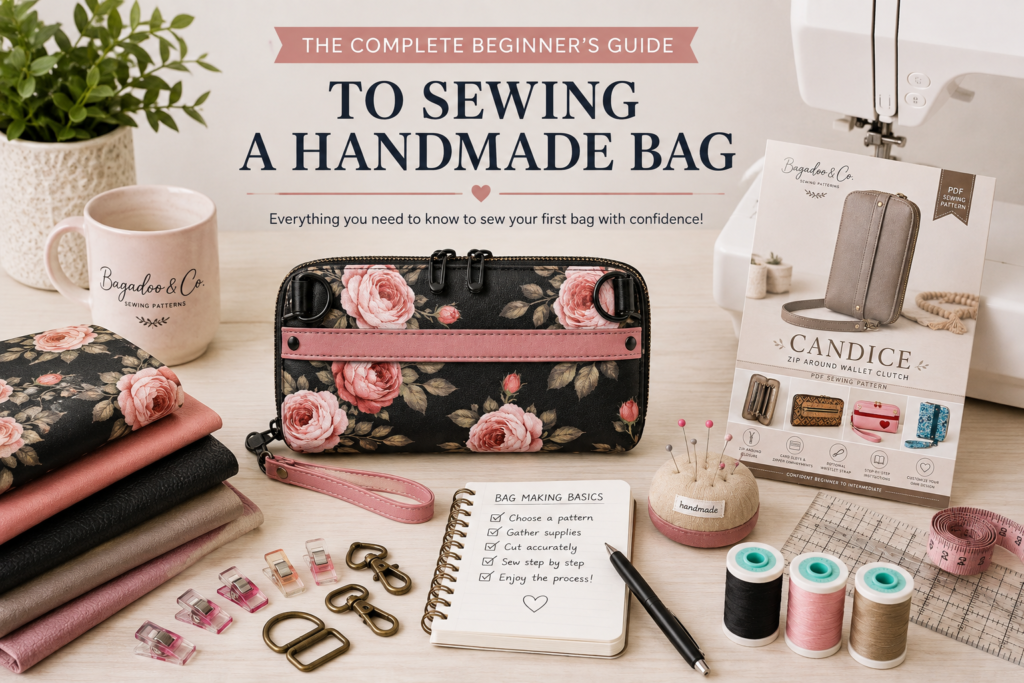
If you’ve ever looked at a handmade handbag and thought, I’d love to make something like that, but I wouldn’t even know where to begin, you’re in the right place.
Bag making can look intimidating from the outside. There are unfamiliar materials, rolls of zipper tape, shiny pieces of hardware, interfacing with mysterious names, and pattern pieces that don’t always resemble anything you’d expect to find in a handbag. Then there are terms like gusset, stabilizer, zipper tab, boxed corner, D-ring connector, and topstitching. It can feel like you need an entirely new sewing vocabulary before you even sit down at the machine. You don’t. Like most sewing projects, a handmade bag is simply a series of smaller steps. You prepare one piece, then another. You make a pocket. Install a zipper. Build a strap. Join a few panels. Eventually, all those pieces come together—and suddenly you’ve made a bag. This guide will walk you through the basics of sewing a handmade bag, including the tools and materials you’ll encounter, how to understand a bag sewing pattern, and what to expect as you work through your first project. You don’t need to know everything before you begin. You just need to know where to start.Before You Begin: You Don’t Need a Professional Sewing Room
One of the easiest mistakes to make when starting a new hobby is believing you need to buy everything before you can begin. Bag making can certainly lead to an impressive collection of tools, hardware, fabrics, and sewing machines over time. But you don’t need all of that to make your first bag. If you already have a reliable sewing machine and basic sewing supplies, you may have much of what you need. Start with a beginner-friendly pattern, buy the materials required for that project, and add specialized tools as you discover that you actually need them. Your collection can grow along with your skills.Do I need an industrial sewing machine to make handbags?
No. Many beautiful handbags can be made on a domestic sewing machine. What your particular machine can handle depends on the materials and number of layers involved, so it’s important to choose your first project accordingly. A beginner bag made primarily from cotton fabric will generally be easier for a domestic machine than a highly structured bag containing multiple layers of thick vinyl, foam, and stabilizer. As your skills develop, you can experiment with different materials and learn what your particular machine handles comfortably.Step 1: Start With the Right Sewing Pattern
Your first handbag probably shouldn’t be the most complicated pattern you can find. It’s tempting. You see a gorgeous structured handbag with three zipper compartments, twelve card slots, a recessed zipper, adjustable straps, and enough hardware to stock a small store—and you want to make that one. Save it. You’ll enjoy making it much more after you’ve learned some basic bag-making techniques. For your first project, look for a pattern with straightforward construction and a manageable number of pieces. Helpful beginner features might include:- Mostly straight seams
- A simple zipper installation
- Basic interior pockets
- Limited hardware
- Clear photographs or illustrations
- Detailed step-by-step instructions
- A complete materials list
What is the best bag for a beginner to sew?
A simple tote, zipper pouch, basic crossbody, or uncomplicated wallet can be a good starting point. The exact style matters less than the construction. A smaller project isn’t automatically easier—a tiny wallet with multiple card slots and zipper compartments can be surprisingly complex. Read the pattern description before purchasing and look for an indicated skill level whenever one is provided.Step 2: Read the Pattern Before Cutting Anything
This might be the least exciting advice in this entire guide. It’s also some of the most useful: Read the pattern first. Not just the materials list. Not just Step 1. Read through the entire pattern before you cut your fabric. You don’t need to memorize it or understand every instruction immediately. The goal is to see how the project fits together. You’ll discover which pieces become pockets, where zippers are installed, which areas need interfacing, and which steps might require a little extra attention. You may also find important notes that affect how you cut your materials.Why read instructions for steps I’m not ready to sew?
Because bag construction doesn’t always happen in the order you’d expect. Something you do during Step 3 may become important during Step 17. For example, a connector or pocket may need to be attached while a panel is still flat because it will be difficult—or impossible—to reach once the bag is assembled. Reading ahead helps you understand why you’re doing something instead of simply following instructions blindly. It also gives you a chance to look up an unfamiliar technique before you’re halfway through the project.Step 3: Learn the Basic Parts of a Bag
Bag sewing patterns use some terminology you may not encounter when sewing clothing, quilts, or home décor. Fortunately, you’ll see the same terms repeatedly.Exterior Panels
These form the visible front and back of your bag.Lining Panels
These form the interior of the bag.Gusset
The gusset usually creates the sides and bottom of a three-dimensional bag. Depending on the design, it may be one continuous piece or several separate sections.Strap Connectors
These attach hardware such as D-rings to the handbag so a removable or adjustable strap can be added.Zipper Panel
A zipper panel incorporates the main zipper into the top opening of a bag.Slip Pocket
A simple open-top pocket, usually sewn to the exterior or lining.Zipper Pocket
A secure pocket that closes with a zipper and may be installed in either the exterior or lining.Stabilizer and Interfacing
These materials are generally hidden inside the finished bag and provide support, strength, or structure. Don’t worry if these terms don’t feel natural immediately. After you’ve made a few bags, you’ll read “attach the gusset to the exterior panel” and know exactly what the pattern designer means.Step 4: Gather Your Basic Bag-Making Tools
You don’t need every specialized bag-making gadget available. There are, however, a few basic tools that make the process much easier. You’ll likely want:- Sewing machine
- Appropriate sewing-machine needles
- Quality thread
- Fabric scissors and/or rotary cutter
- Cutting mat if using a rotary cutter
- Measuring ruler
- Fabric marking tool
- Seam ripper
- Sewing clips
- Zipper foot
- Iron and pressing surface for materials that can safely be pressed
Do I need to buy special bag-making tools?
Not immediately. Specialized tools can make certain jobs faster and easier, particularly when you begin installing rivets, snaps, grommets, and other hardware. But buy tools because you need them—not because someone else’s sewing room has them. Your first few projects will quickly show you which tools would actually make your own sewing easier.Step 5: Understand Your Materials
One of the biggest differences between basic sewing and bag making is the variety of materials you may encounter in a single project. A handbag isn’t necessarily made from one exterior fabric and one lining fabric. Different layers perform different jobs.Exterior Fabric
This provides much of the bag’s visible personality. Depending on the pattern, you might use cotton, canvas, faux leather, vinyl, cork, or another suitable material.Lining
The lining finishes the inside of the bag and often contains pockets and other organizational features.Interfacing
Interfacing adds body and support to fabric. Different patterns call for different weights because the amount of structure needed varies by design.Stabilizer
Stabilizers provide additional structure and help a handbag maintain its shape. Foam stabilizer, for example, can create a structured yet slightly cushioned result.Zippers
Bag makers often use zippers by the yard as well as traditional fixed-length zippers. Don’t be intimidated if a pattern calls for zipper tape and separate pulls—it becomes much easier with practice.Hardware
Depending on the project, this might include D-rings, swivel hooks, strap sliders, magnetic snaps, rivets, feet, locks, or other decorative and functional pieces.Can I substitute materials in a bag sewing pattern?
Sometimes—but substitutions can change the finished result. Replacing a lightweight material with something much thicker may create bulky seams your machine struggles to sew. Removing a recommended stabilizer may cause a structured handbag to become soft and floppy. Before substituting, consider what job the original material is performing. Once you understand why it’s there, you’ll be much better equipped to choose an alternative.Step 6: Cutting Accurately Matters
You can sew a beautifully straight seam and still end up frustrated if your pieces weren’t cut accurately. Bag construction often requires several layers and pieces to align precisely. A small difference at the beginning can become increasingly noticeable as those pieces are assembled. Take your time. Measure carefully. Pay attention to directional prints. Transfer any markings included in the pattern. And before cutting into your favorite expensive fabric, make sure you’re looking at the correct pattern piece and orientation.What is fussy cutting?
Fussy cutting means intentionally positioning a pattern piece over a particular part of a printed fabric. Instead of cutting wherever the piece happens to fit, you might center a flower, character, phrase, or other design on the front panel of your handbag. It usually requires more fabric than ordinary cutting, but the result can make a finished bag look especially intentional. If you’re using a directional print, also check which way the design will face when the bag is assembled. There’s nothing quite like finishing a beautiful handbag and discovering that the feature print on the front is upside down.Step 7: Prepare Before You Assemble
Once everything is cut, there may still be quite a bit to do before your handbag starts looking like a handbag. Interfacing may need to be fused. Foam or stabilizer may need to be attached. Zippers may need to be prepared. Strap pieces may need to be folded or reinforced. Hardware and connectors can be organized. Pattern markings should be transferred. This preparation can feel slow when you’re eager to start sewing, but it makes the construction process much smoother. One habit that can be especially helpful is organizing your cut pieces before you begin. Keep exterior pieces together, lining pieces together, and smaller components somewhere they won’t disappear under everything else on your sewing table.Bagadoo Tip
Don’t judge your progress by whether your project looks like a handbag yet. For a surprisingly large portion of the process, it won’t. Bag making is about completing one component at a time. Concentrate on making the piece in front of you correctly, and eventually all those seemingly unrelated pieces will have somewhere to go.Part 2 will continue with sewing your first components, installing zippers, handling curves and bulky seams, assembling the bag, turning and finishing, dealing with mistakes, building your skills, and what to try after your first successful bag.